Light Stream™ is a revolutionary remote lighting system. We understand that you may have some questions. Here are some tips and troubleshooting to help you get setup.

Light Stream™ Setup & Tutorial
Setup VideoLight Stream™ is a revolutionary remote lighting system. We understand that you may have some questions. Here are some tips and troubleshooting to help you get setup.
Sign up for a 10% off coupon
Services
Get inspired for the season ahead
How To Perform A Firmware Update


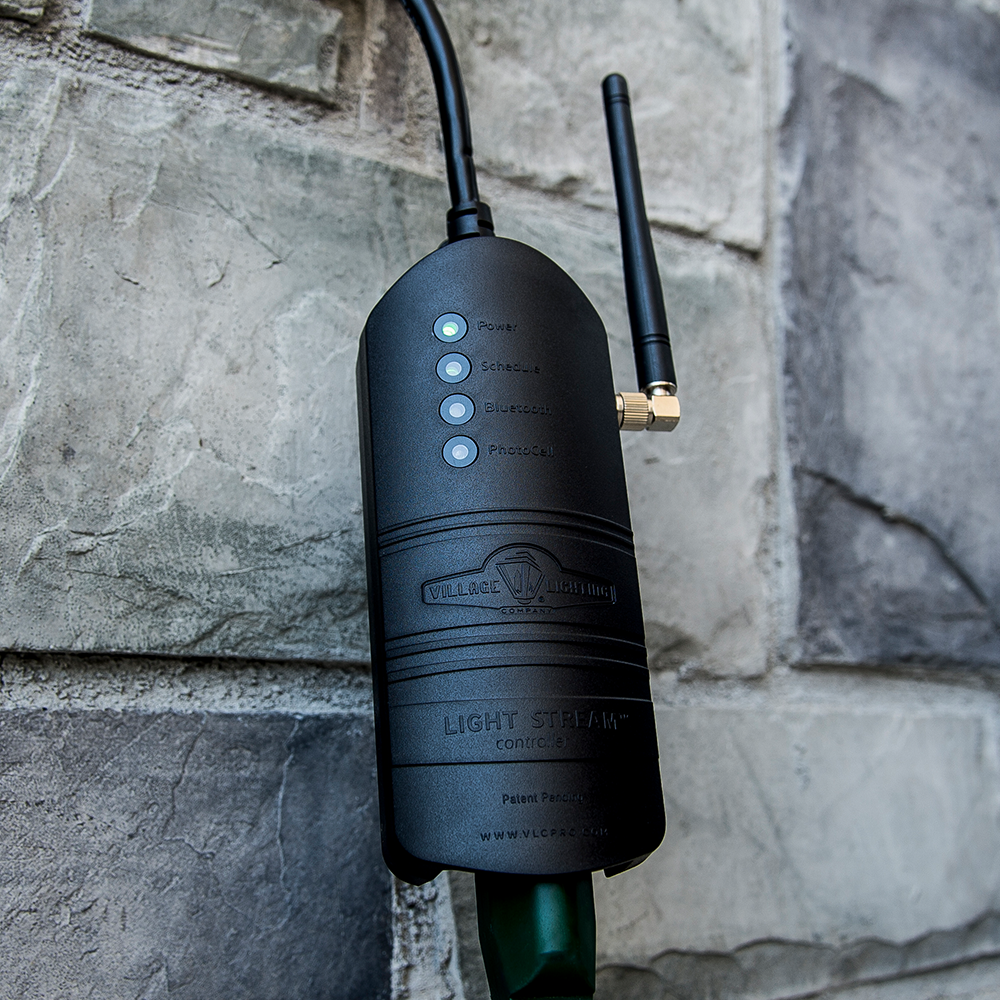
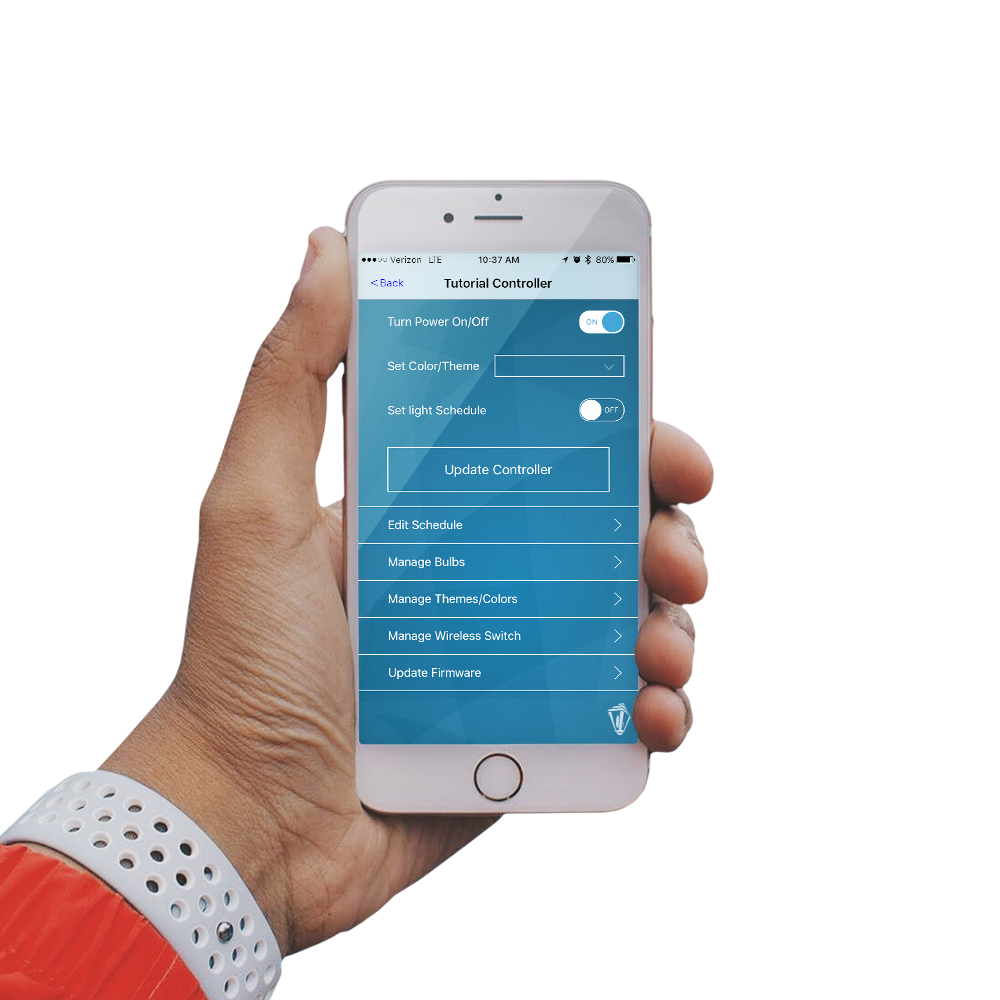
1. Before You Update
1. Make sure you have latest version of the Light Stream™ 2 app
2. To prevent your phone from going to sleep during the update, Go to Phone Settings > Display & Brightness > Auto-Lock then select "Never"
3. Please plan on several minutes to fully update firmware
NOTE: Don't exit the app, change screens, or take phone calls during the update.
2. Perform the Firmware Update
1. Ensure you're connected to the internet (Cellular data is acceptable with a good signal. In order to use Cellular data, you must go into the phone settings for the app specifically and enable cellular data)
2. Keep your phone within 10 feet of the controller during firmware update
3. Ensure the controller stays powered on during the firmware update process
4. From the controller main menu, select "Manage Devices", and choose "Update Controller Firmware" (choose "Update Switch Firmware" for the switch update). Follow the on-screen prompts to successfully complete the controller update
General Troubleshooting


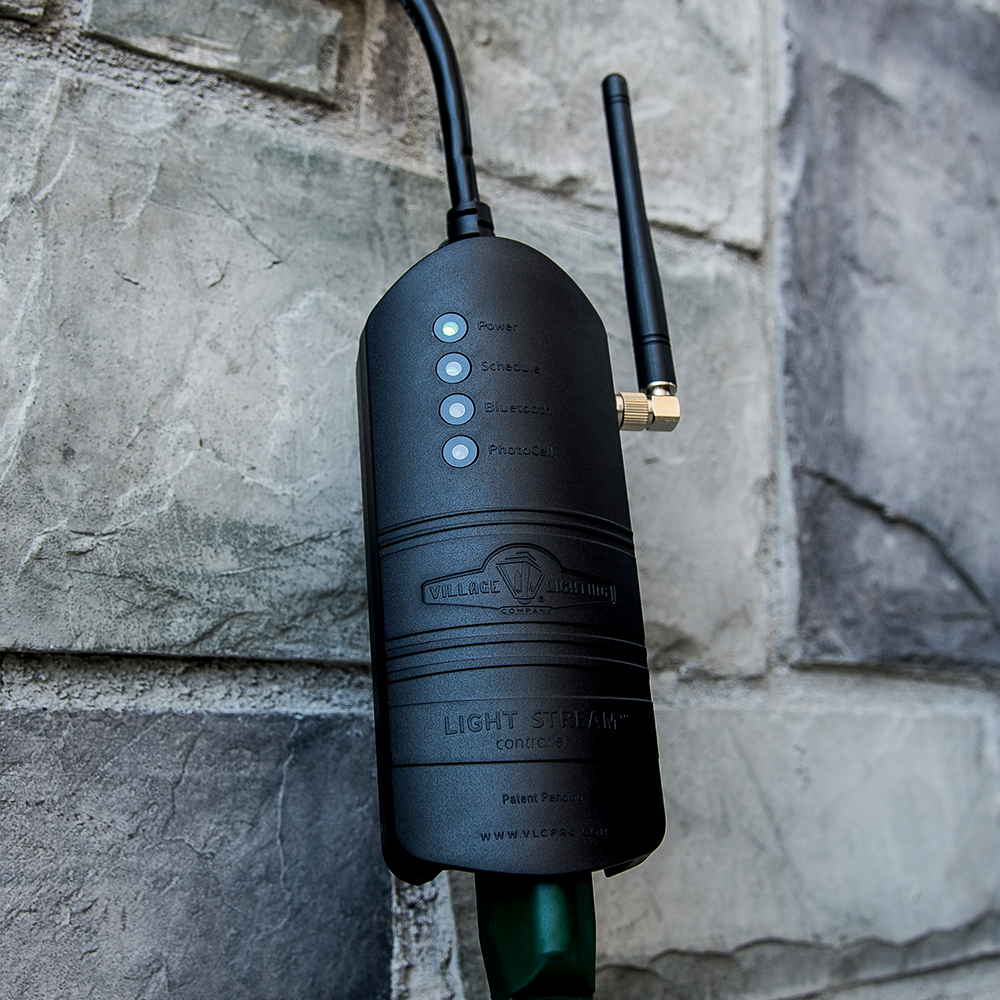
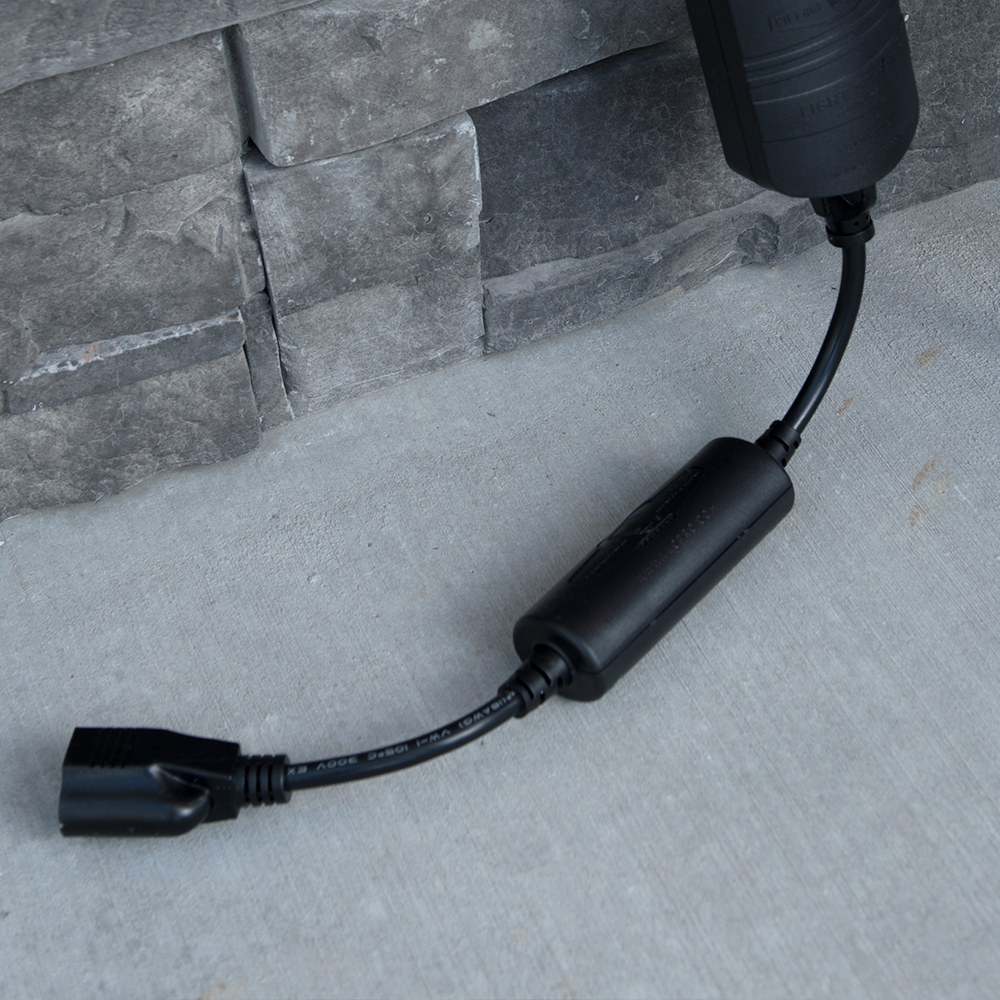
1. Controller Troubleshooting
CONNECTION ISSUES? - If you're having difficulties re-connecting to the controller after it is set up, try the below steps to fix the problem.
1. Turn off phone Bluetooth, then back on. Unplug the controller, then plug it back in. Then, try connecting again.
2. Restart your smartphone, unplug the controller, then plug it back in. Then, try connecting again.
3. Close down the Light Stream™ 2 app, reopen the app and set up the controller again by scanning the QR code. Then, name the controller.
2. Switch Troubleshooting
PAIR SWITCH - Be sure to pair every switch with a controller before installing.
SWITCH NOT RECEIVING SIGNAL - Make sure the switch is within 75ft. of the controller, or else it may be out of range.
3. Bulbs Troubleshooting
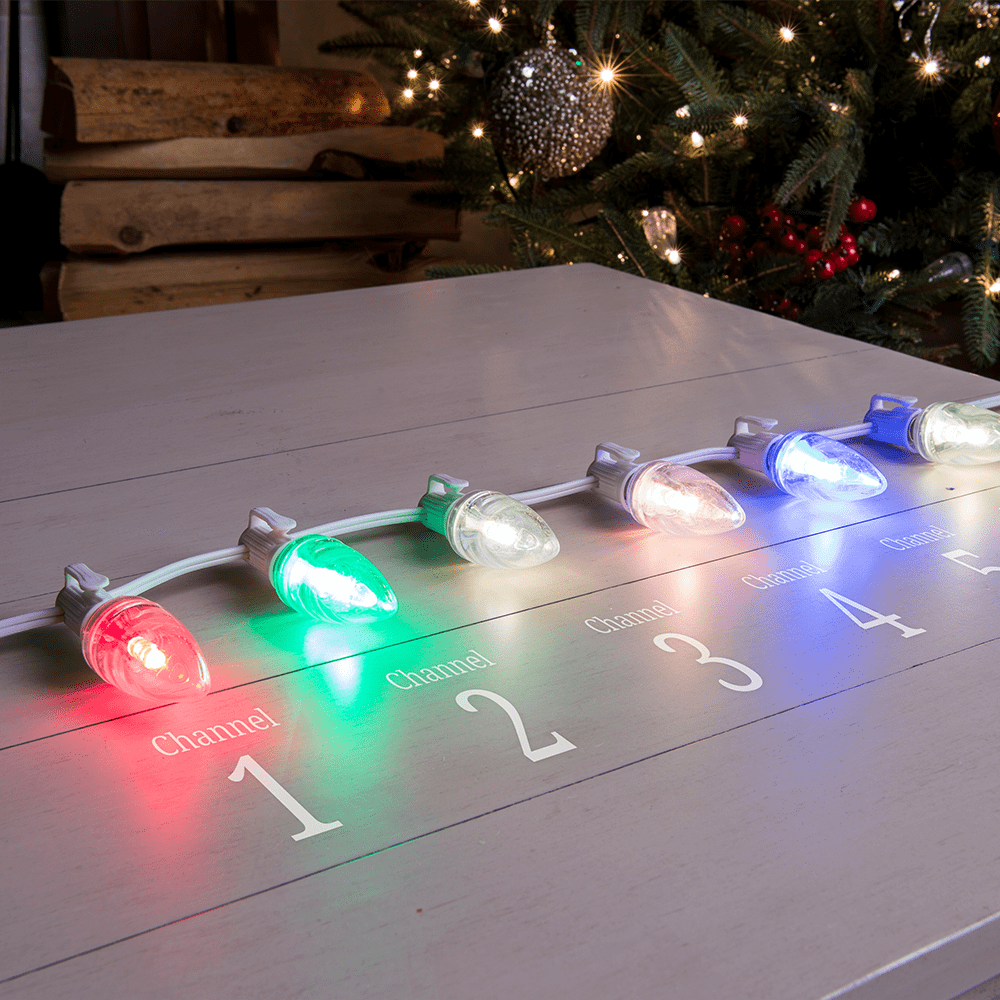
PRESET CHANNELS - Each box of bulbs comes with 6 preset channels. Remember to insert the bulbs into the wire in the correct order of channel, from channel 1 through channel 6. Plug in the wire to ensure the correct order, based on the default colors per channel.
The default colors for each channel are as below:
PAIR BULBS - Remember to pair bulbs to the controller. If you don't the bulbs will still turn on/off, but they will not change colors when the signal is sent
CHECK THE BULBS - After you hang your bulbs but before you set the first color change with the controller. If there’s a malfunction with one of the bulbs, it’s easiest to swap it out when you can easily see what channel color it should be based on the neighboring bulb colors.
NOTE: If you’ve already changed the colors of all the bulbs, create a new theme using 6 different colors, one for each channel and update.
FLASHING BULBS - Flashing bulbs occur when the bulbs are not assigned to an active bulb channel. If this is happening to you, please plug in the unassigned bulbs and repeat the above steps to assign these bulbs to an active channel.
BULBS COLOR NOT UPDATING - If you change the color of your bulbs but none update, try the below steps to resolve the issue.
NOTE: If you are updating a bulbs color and the bulbs are being used on a switch, make sure the switch is correctly paired.
NOTE: When updating colors, see if the bulbs are turning on/off. Bulbs only receive the signal to change color in the 1-2 seconds after the bulbs turn on.
DO NOT OVERTIGHTEN - Due to the shape of the Light Stream bulbs, it is possible to over tighten the bulbs which can loosen the socket from the wire causing connection issues. Screw in until tight, and light turns on, but don't go further.
4. App Troubleshooting
CONTROLLER SETTINGS NOT UPDATING - The app does not kick you out of the controller page if the phone loses the Bluetooth connection. If you are not seeing any response from the controller, exit the controller page and reestablish a Bluetooth connection from the app's home page.
CONTROLLER CONNECTION ISSUES - Try the following steps:
WHERE ARE CONTROLLER SETTINGS STORED? - Controller settings are stored on the Light Stream™ 2 Controller.
If your setting up the Light Stream™ System for someone else, when setting up a "new" controller on the home owner's smartphone, choose to duplicate
the controller settings to transfer all existing controller settings.
You may help them setup the Light Stream™ System on there smartphone or simply use there phone for the initial setup to avoid this issue.
How To Assign Bulb Channels


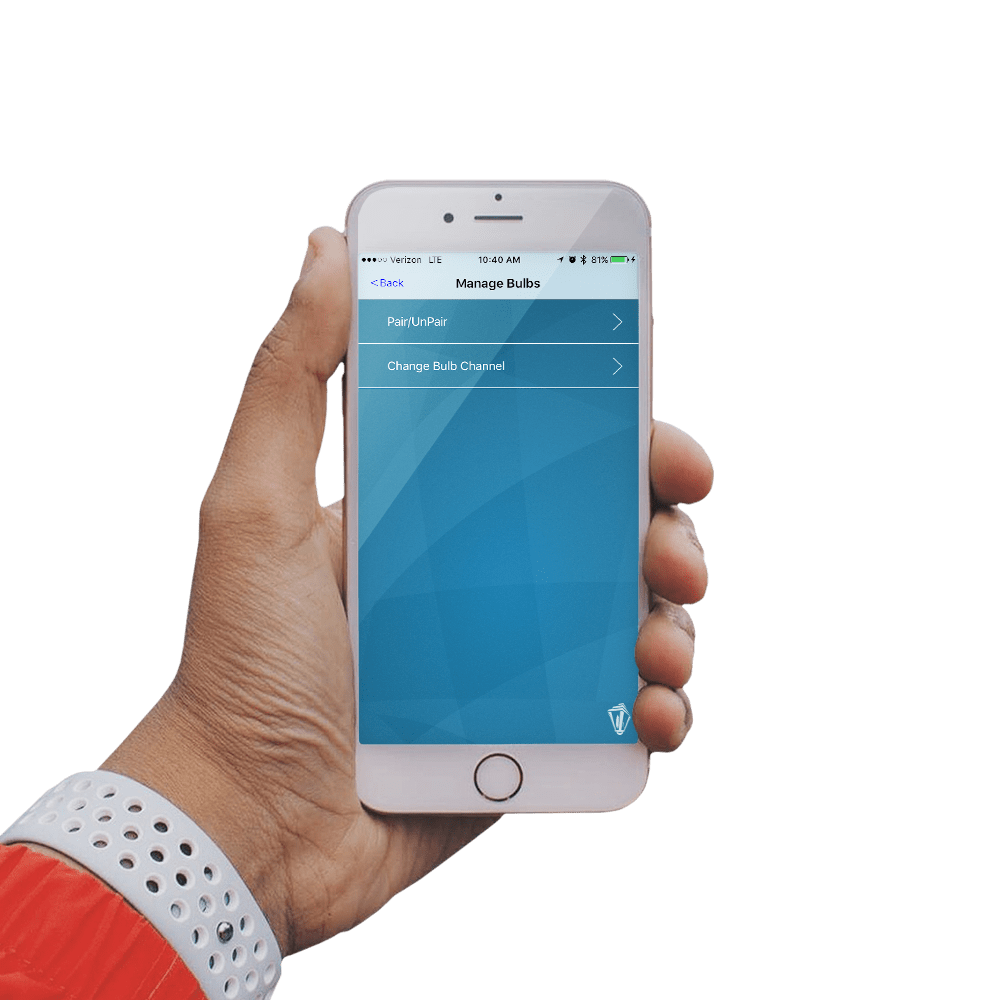
1. Choose your controller
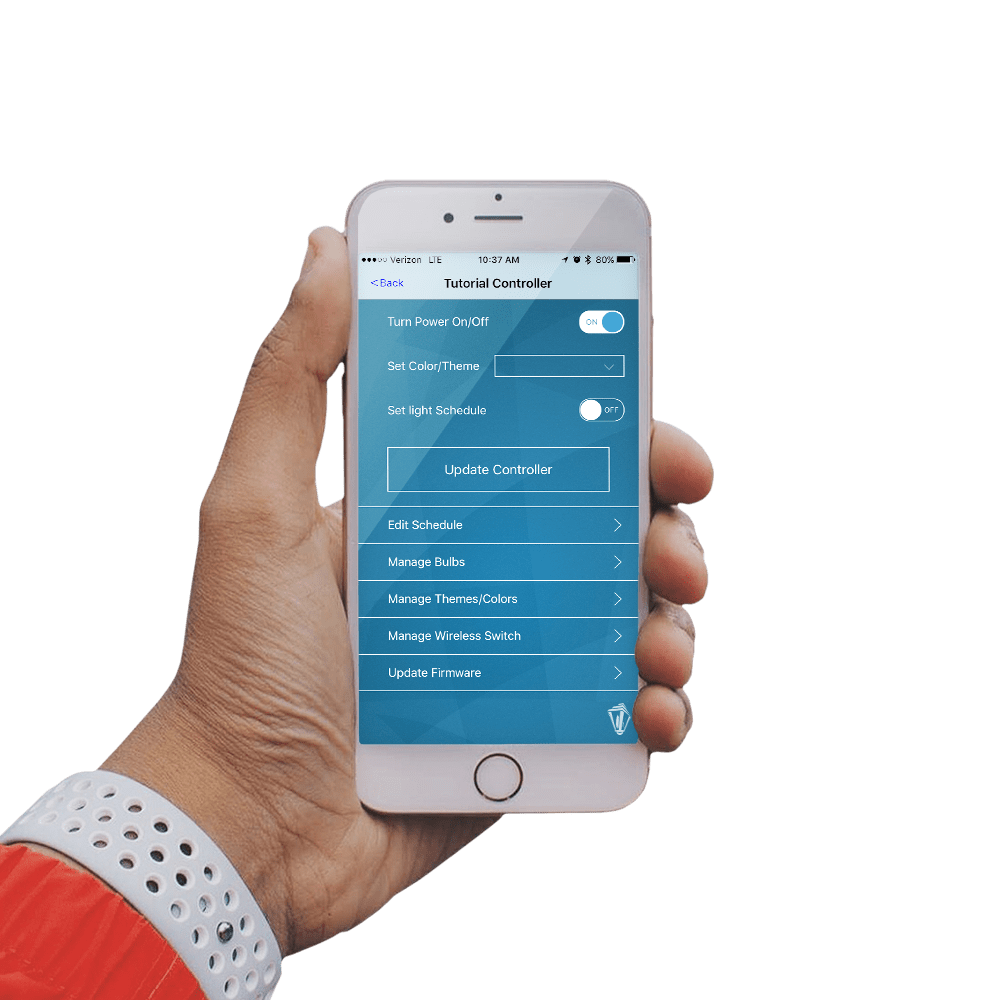
Select your paired controller in the main menu.
2. Select manage devices
Select "Manage Devices" from the controller settings main menu.
3. Change bulb channel
Select which bulbs you would like to update from the three options.
Next, select what channel you would like to change the bulbs to.
Lastly, select the "Continue" button at the bottom of the screen to save your settings.
NOTE: All bulbs need to be plugged into the controller or switch to properly update. Properly updated bulbs will turn blue.
TROUBLESHOOTING:
FLASHING BULBS - Flashing bulbs occur when the bulbs are not assigned to an active bulb channel. If this is happening to you, please plug in the unassigned bulbs and repeat the above steps to assign these bulbs to an active channel.
How To Manage Themes & Colors


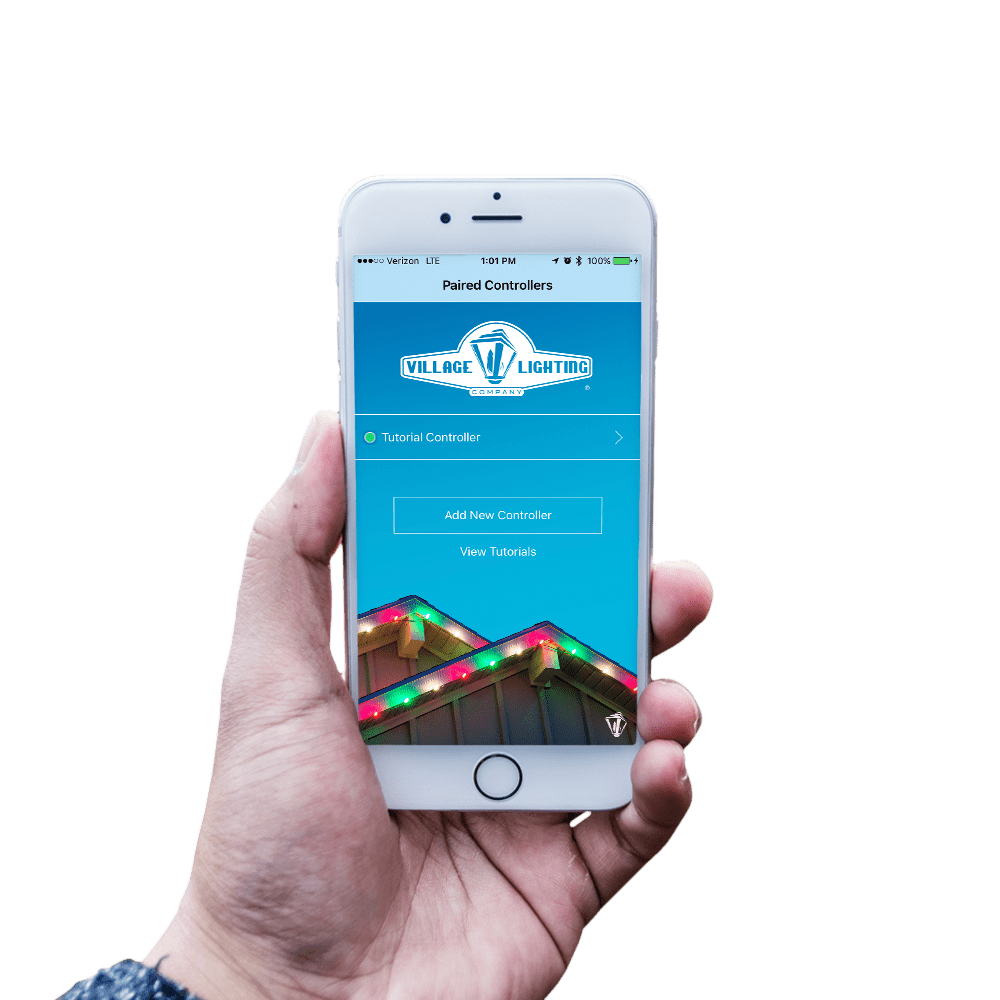
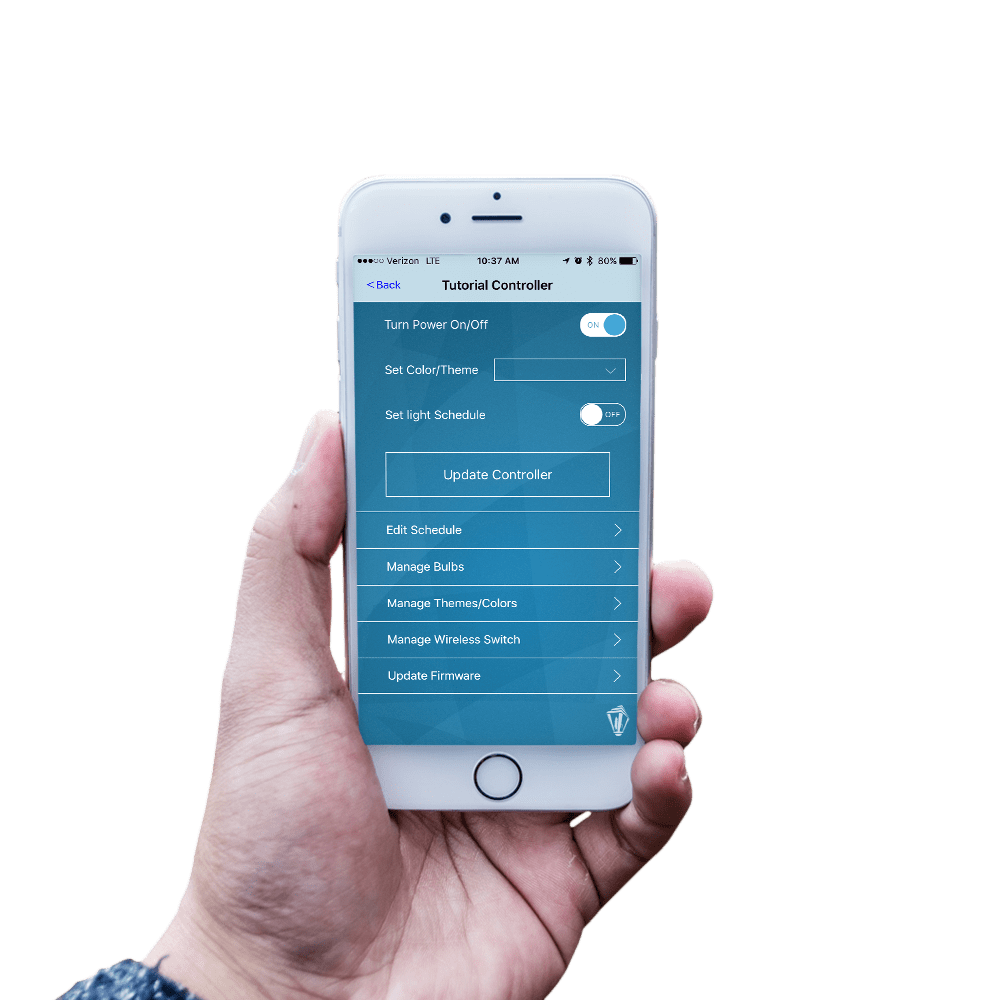
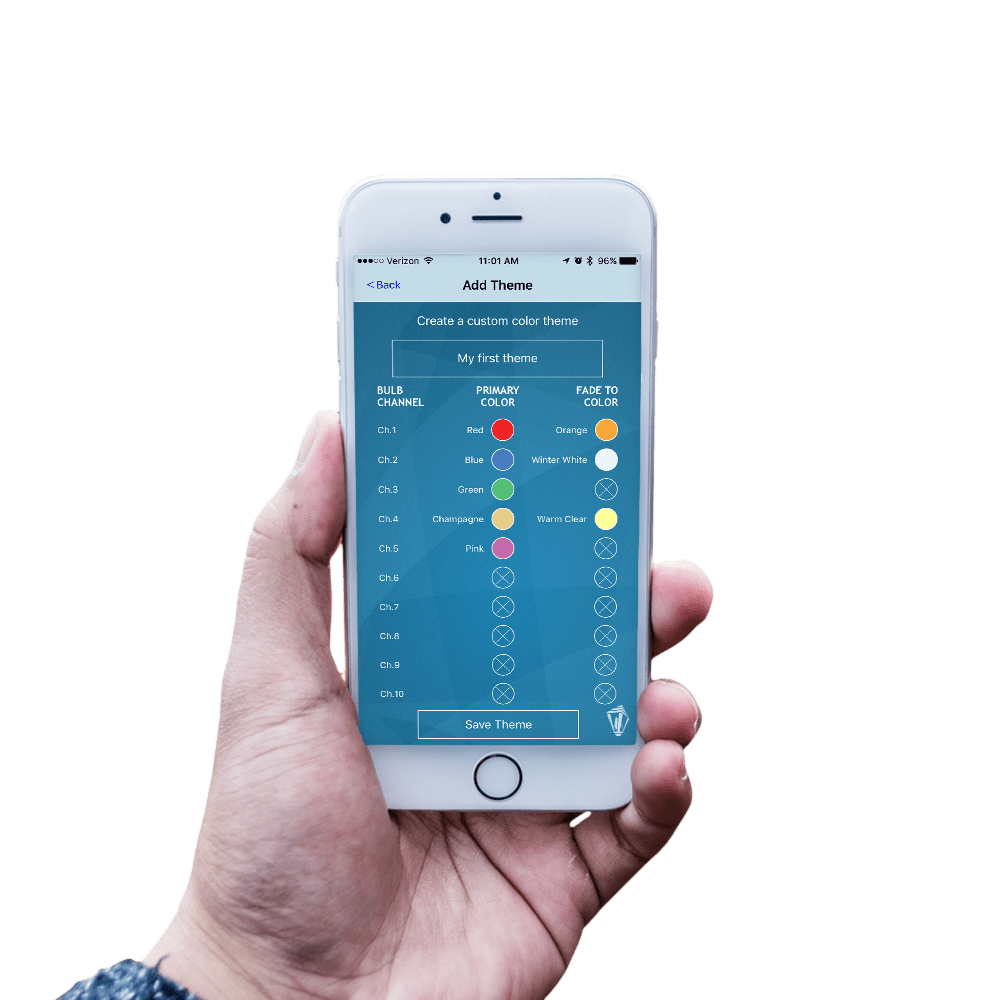
1. Choose your controller
Select your paired controller in the main menu
2. Select themes/colors
Select 'Themes/Colors' from the controller settings main menu options.
NOTE: Swipe left on existing themes to edit or delete
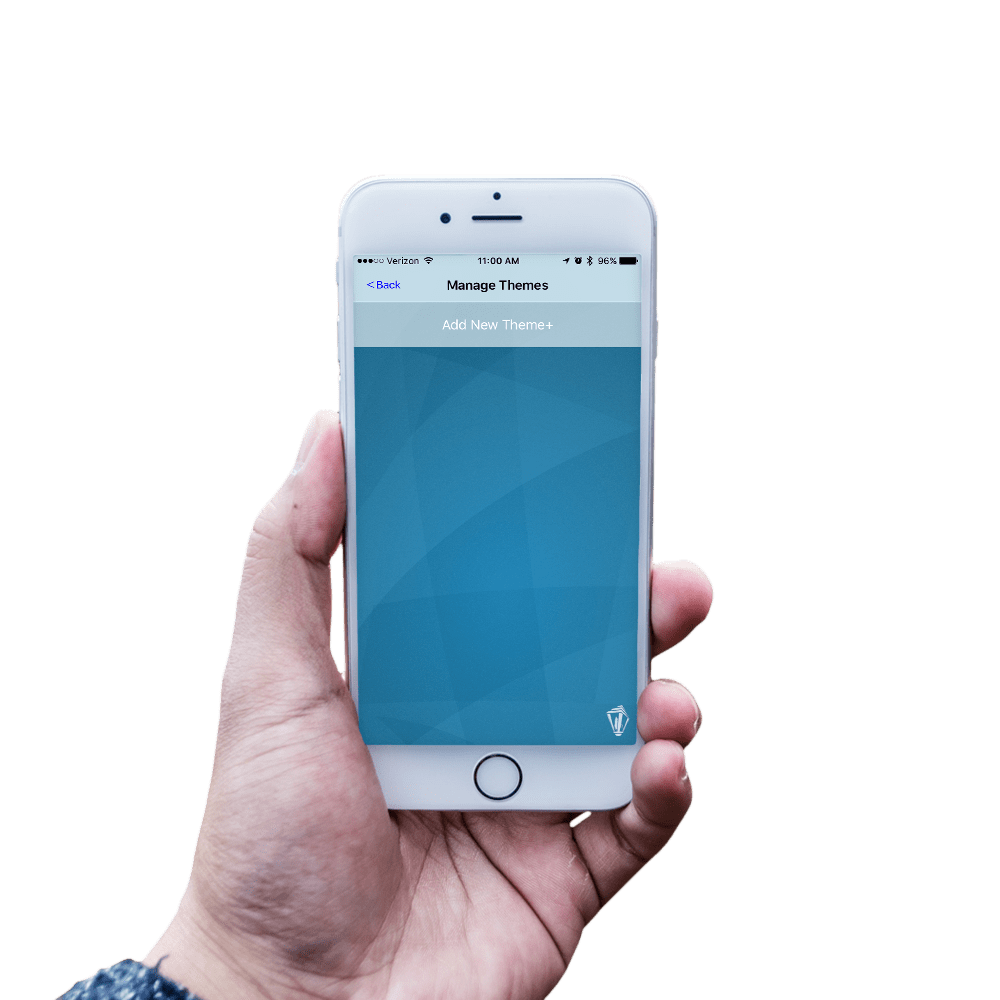
3. Add a new theme
Next, select the '+' icon in the top-right corner to add a new theme.
4. Build your theme
Start off by naming your theme.
By default, every bulb channel will have no colors assigned. For each channel, click on the first (or left-most) empty swatch to select and assign the primary color.
If you would like to have a fade to color, repeat above steps in the second and/or third empty swatch section.
By selecting the 'star' icon on the right, you will activate the twinkle effect
NOTE: Activating twinkle will remove the second and third colors (fade colors).
Once you have set all your bulb channels to have the colors you would like, you can now select the 'Save Settings' button.
Your new theme will display in the 'Themes & Colors' section as well as anywhere in the app where a color or theme can be selected.
How To Set A Custom Schedule


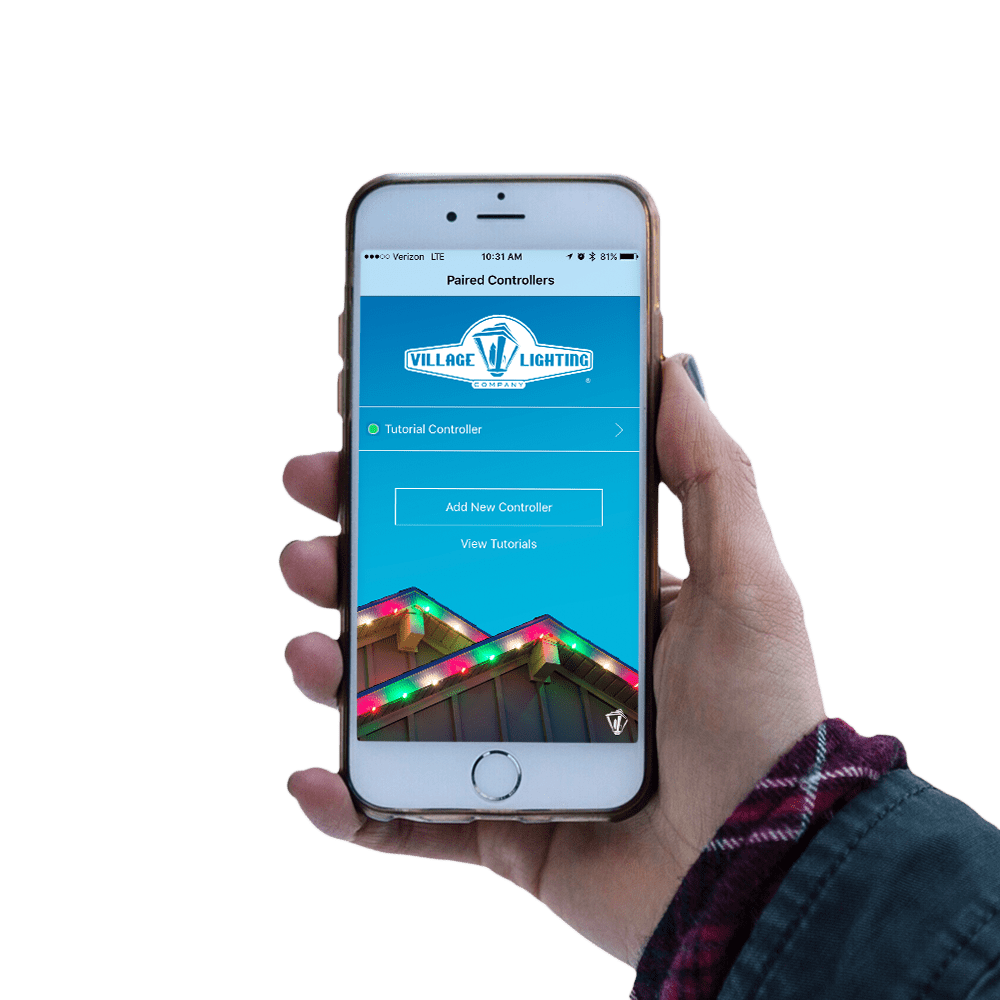
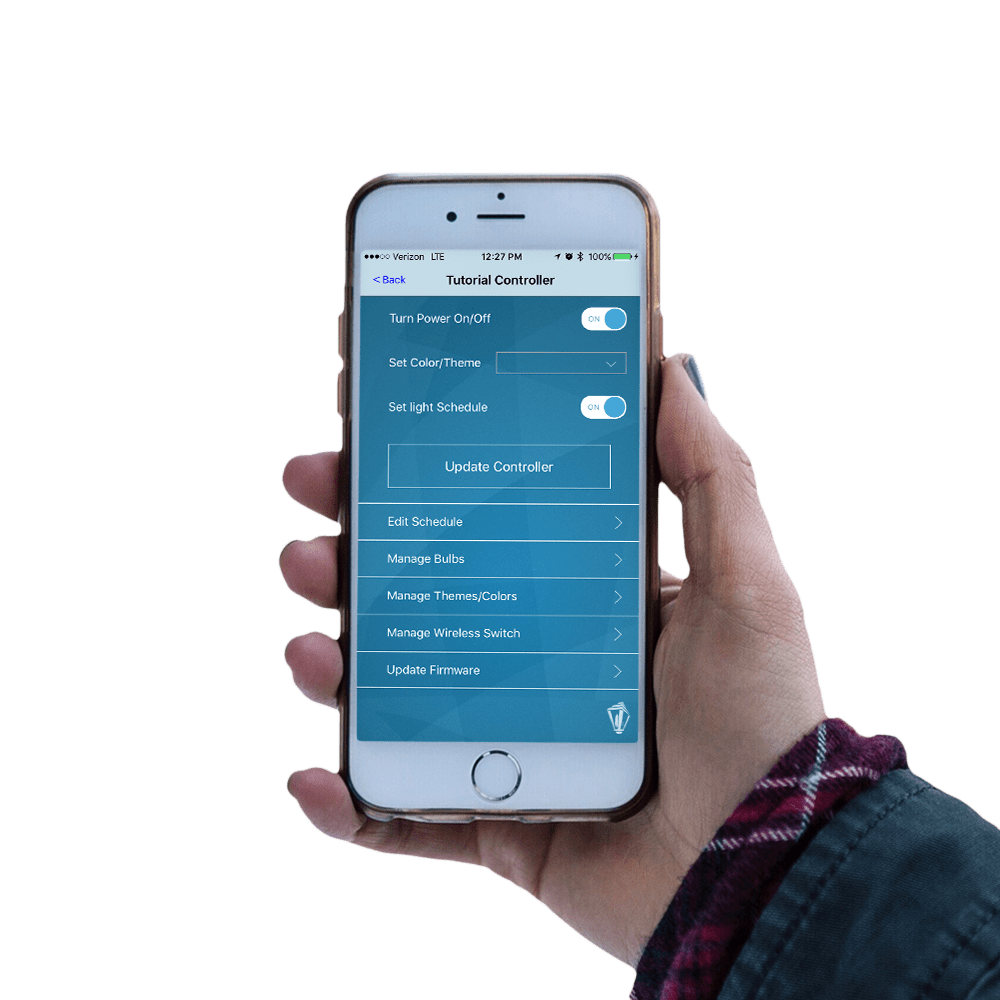
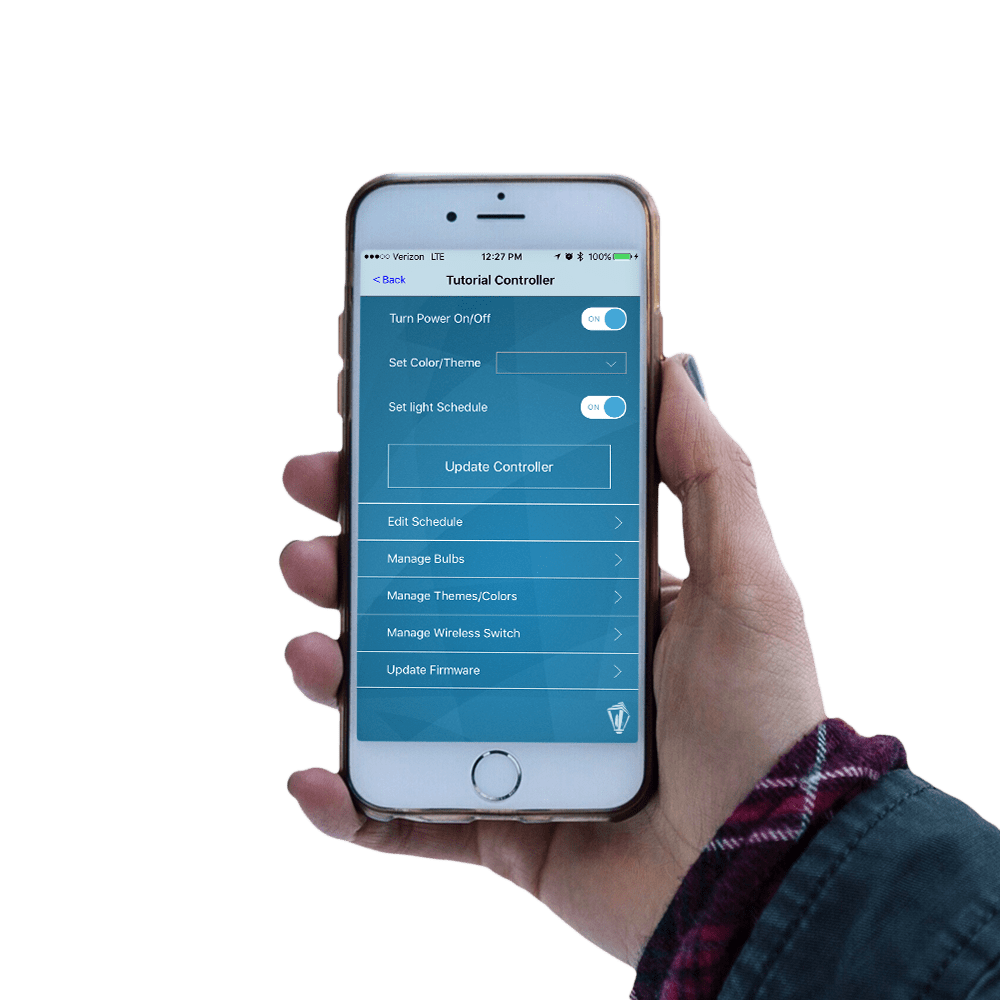
1. Choose your controller
Select your paired controller in the main menu.
2. Select schedule
In the main controller settings, select the "Schedule" option.
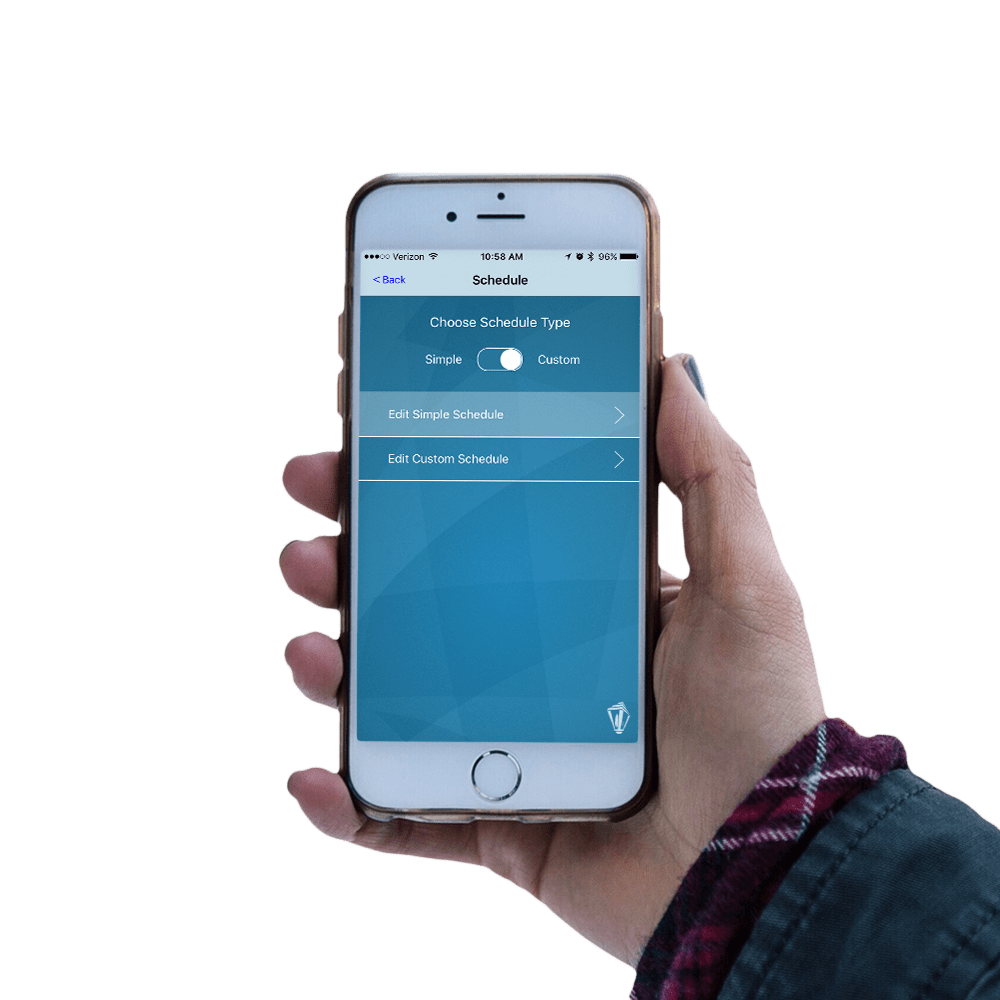
3. Choose schedule type
Move the slider bar into the right position to choose the "Custom Schedule" setting.
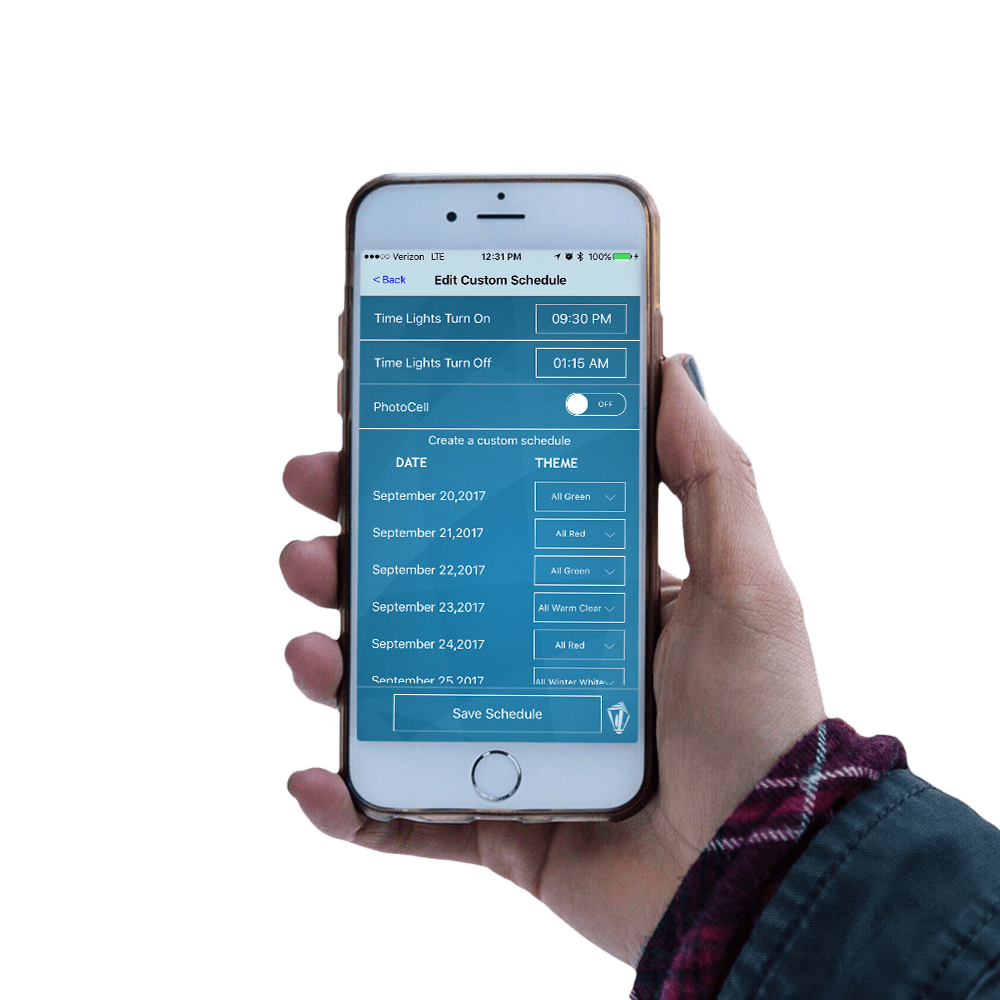
4. Build your schedule
Select the days of the week you would like your lights to turn on.
Select a "Time On" time and a "Time Off" time. You can turn on the Photocell feature which will detect when the sun has set and your lights will automatically turn on at this time.
Lastly, choose your color theme and select "Save Schedule" to complete your setup.
NOTE: You may select multiple days in advance by selecting the date and choosing a color theme to display on that date.
5. Activate Schedule
In the main controller settings, select the "Schedule On" position of the main power slider to activate your selected schedule.
How To Set A Simple Schedule


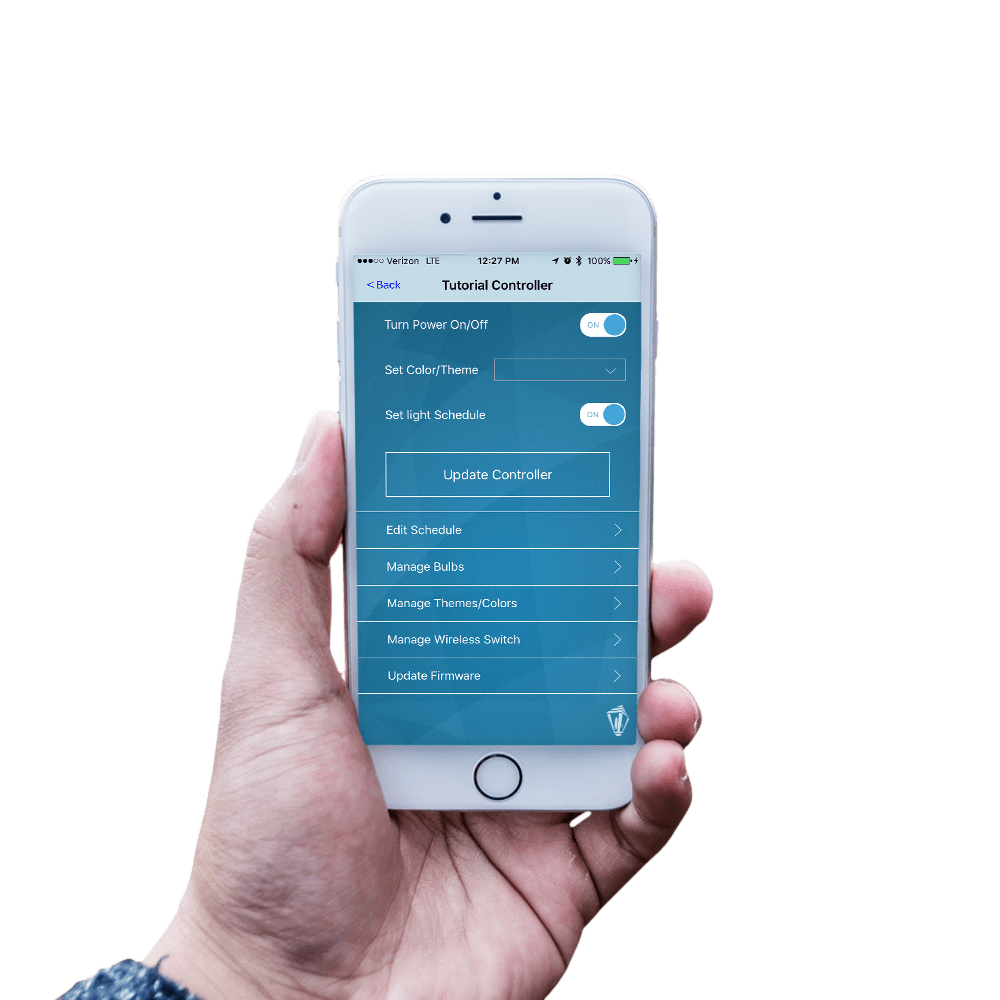
1. Choose your controller
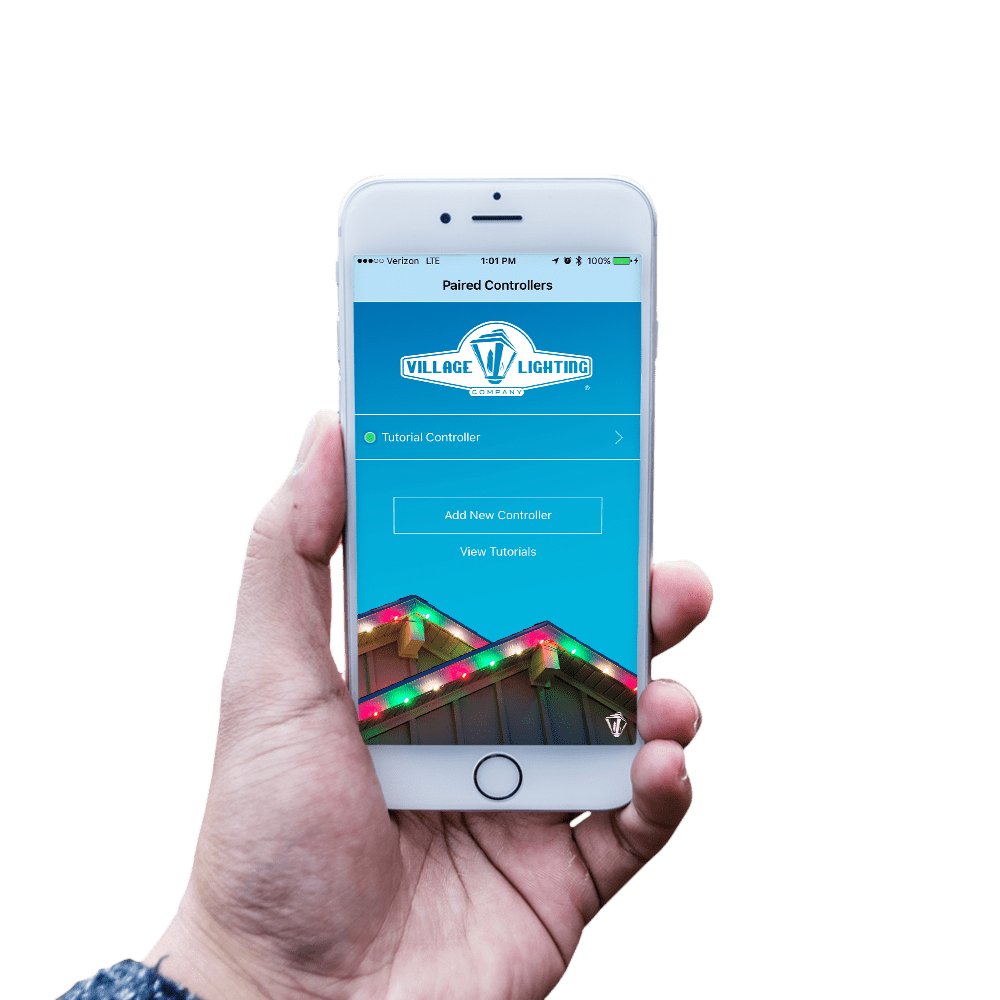
Select your paired controller in the main menu.
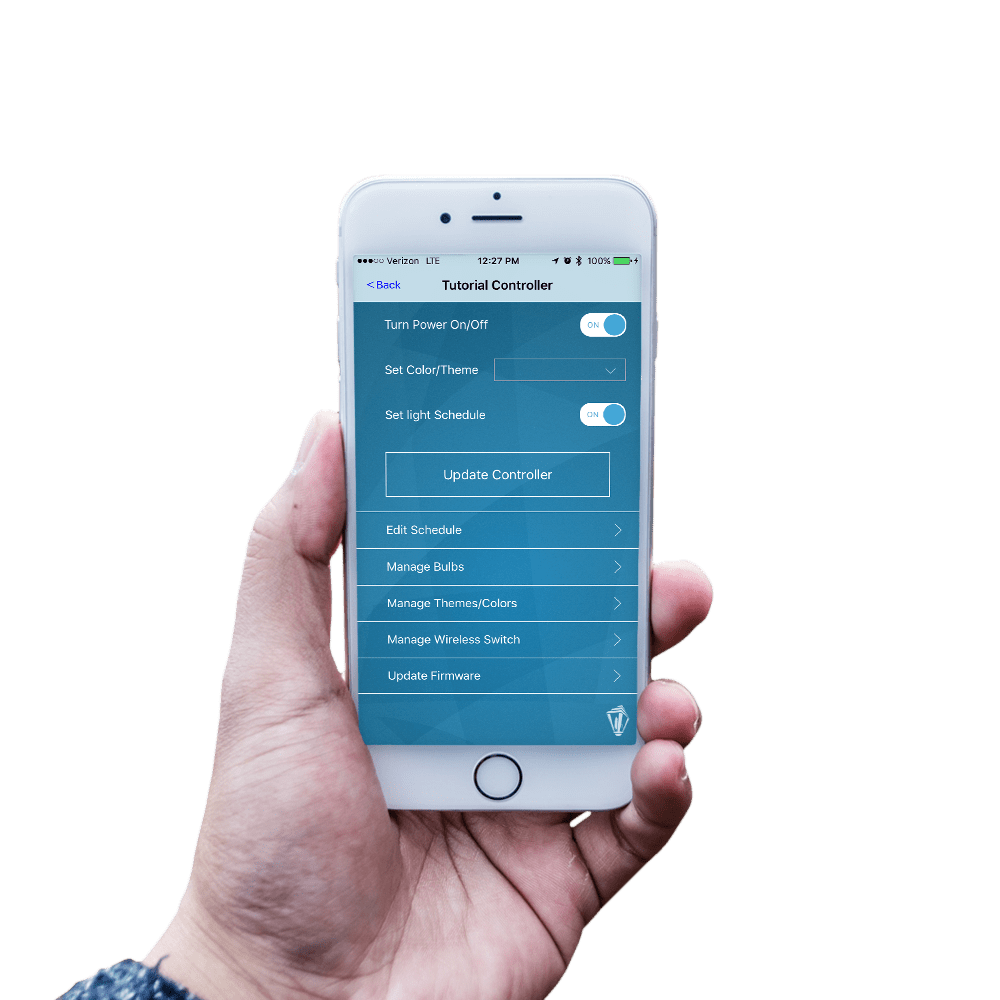
2. Select schedule
In the main controller settings, select the "Schedule" option.
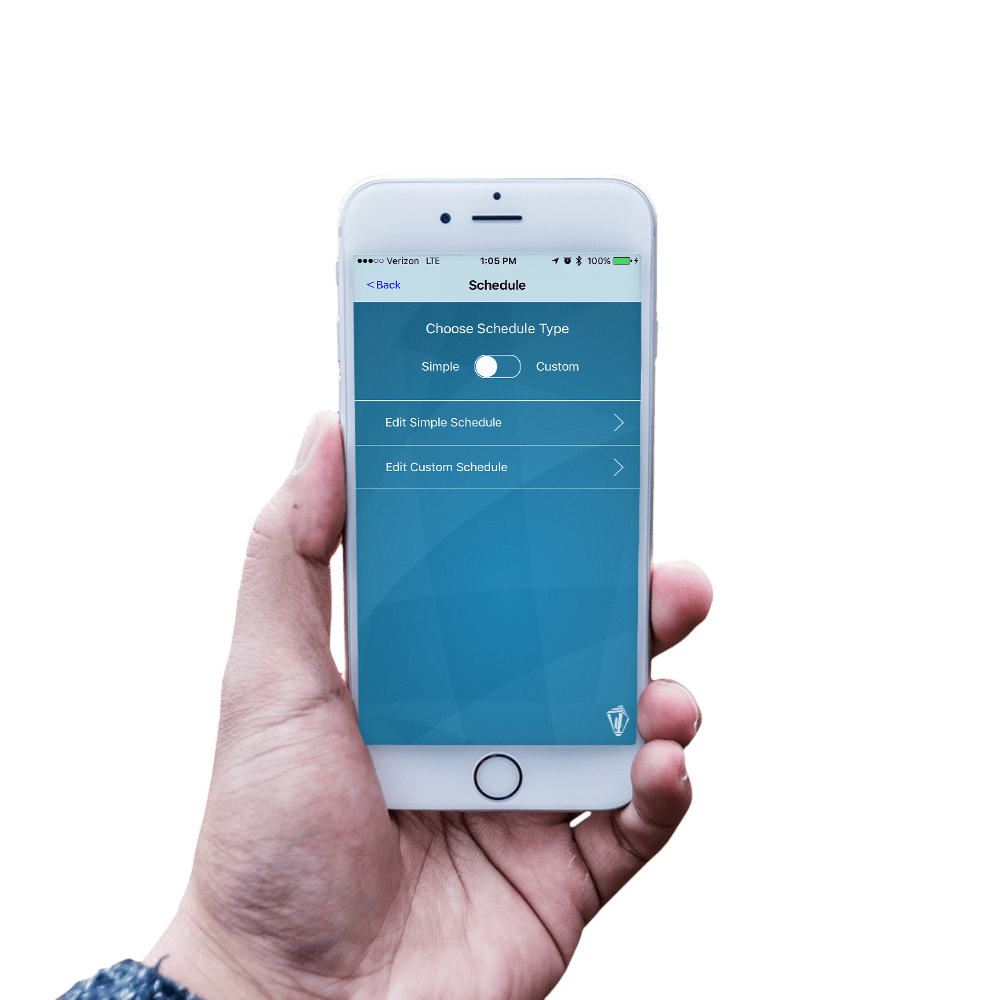
3. Choose schedule type
Move the slider bar into the left position to choose the "Simple Schedule" setting.
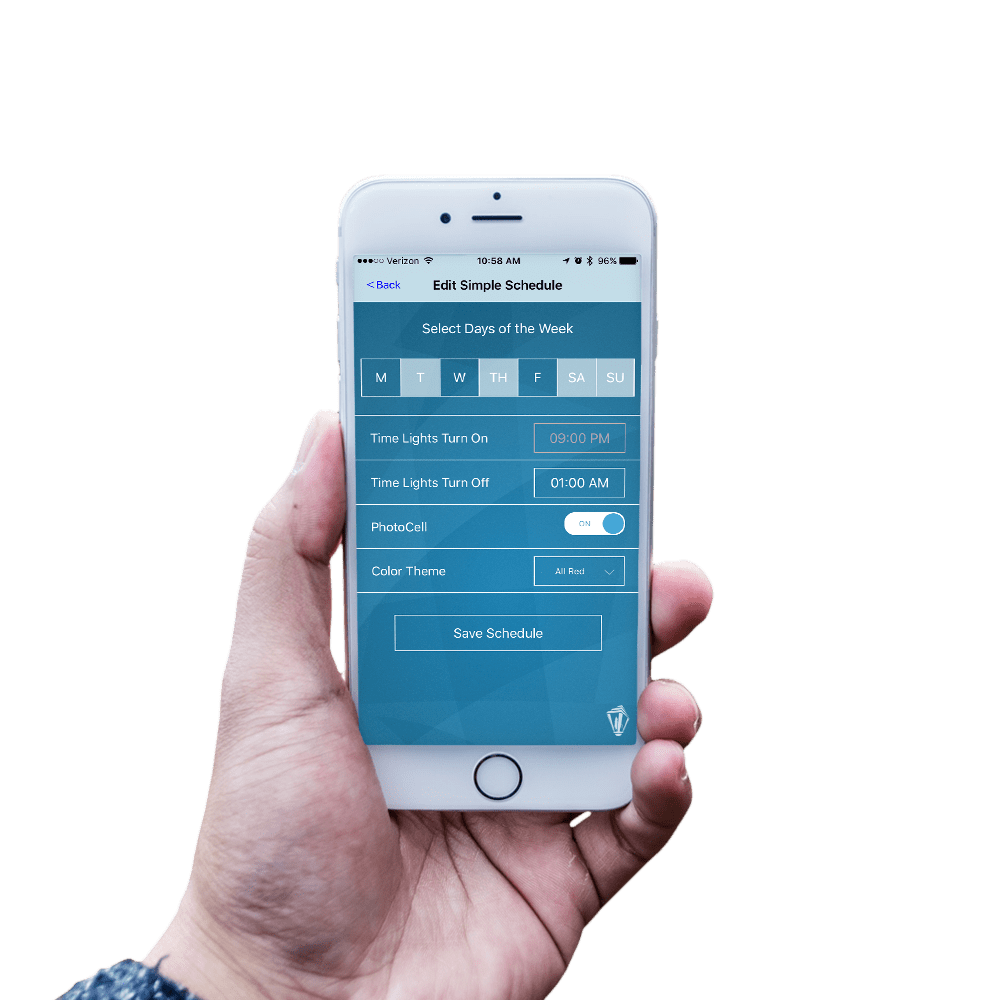
4. Build your schedule
Select the days of the week you would like your lights to turn on.
Select a "Time On" time and a "Time Off" time. You can turn on the Photocell feature which will detect when the sun has set and your lights will automatically turn on at this time.
Lastly, choose your color theme and select "Save Schedule" to complete your setup.
NOTE: You may select up to 3 scheduled times with this feature. Move the slider bar to turn on/off the Schedule Time 2 / 3.
5. Activate Schedule
In the main controller settings, select the "Schedule On" position of the main power slider to activate your selected schedule.
How To Pair The Bulbs


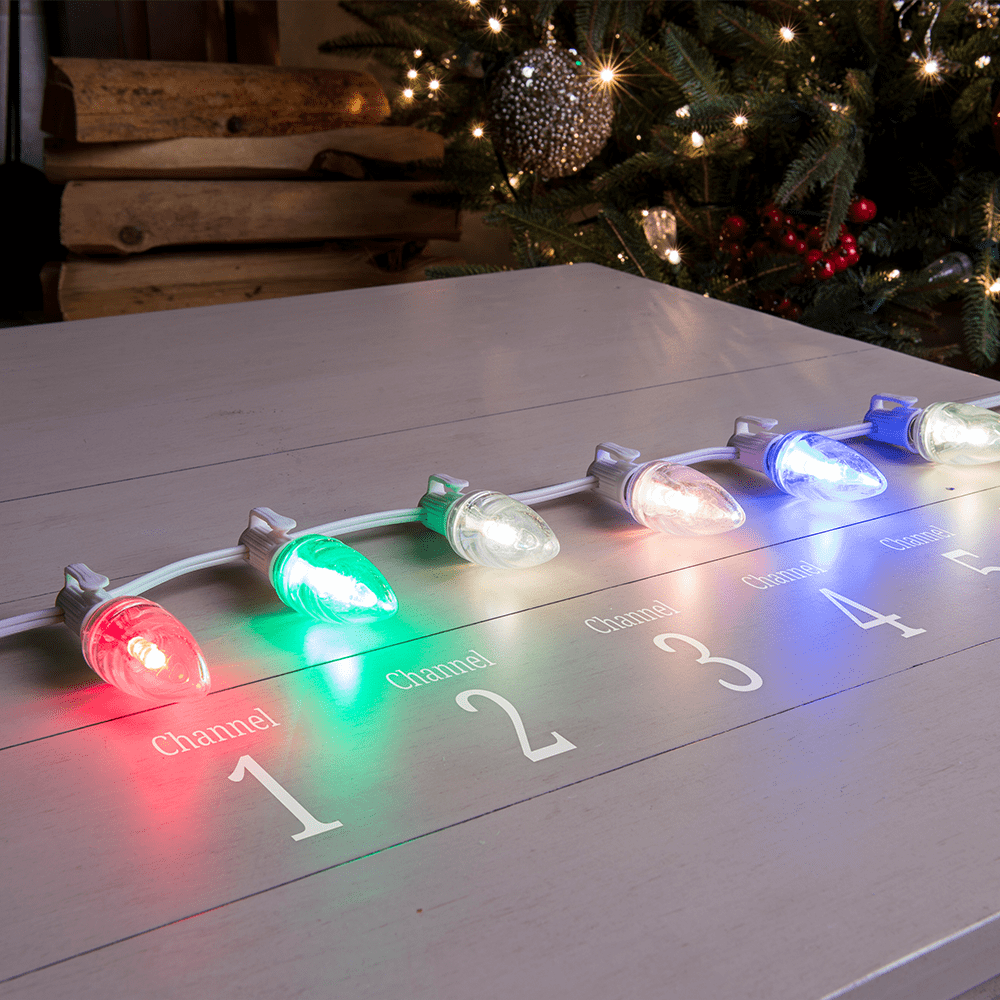
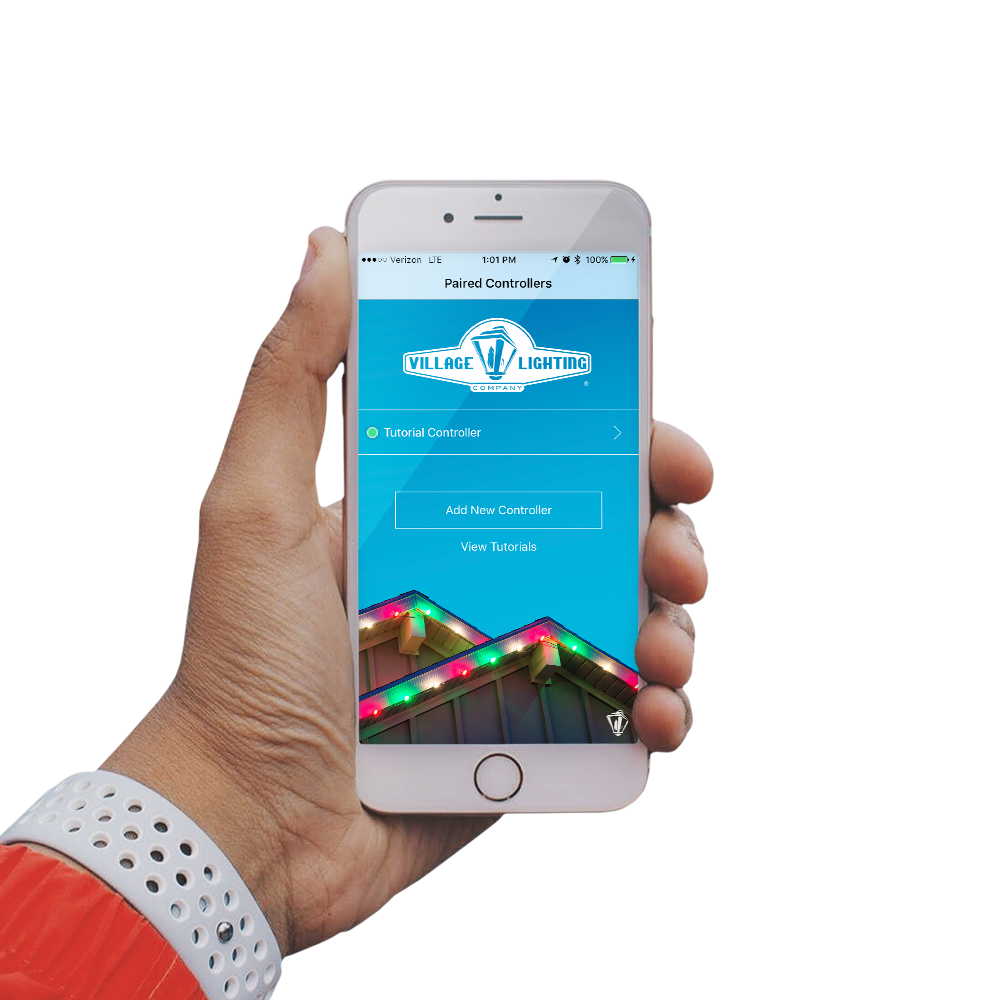
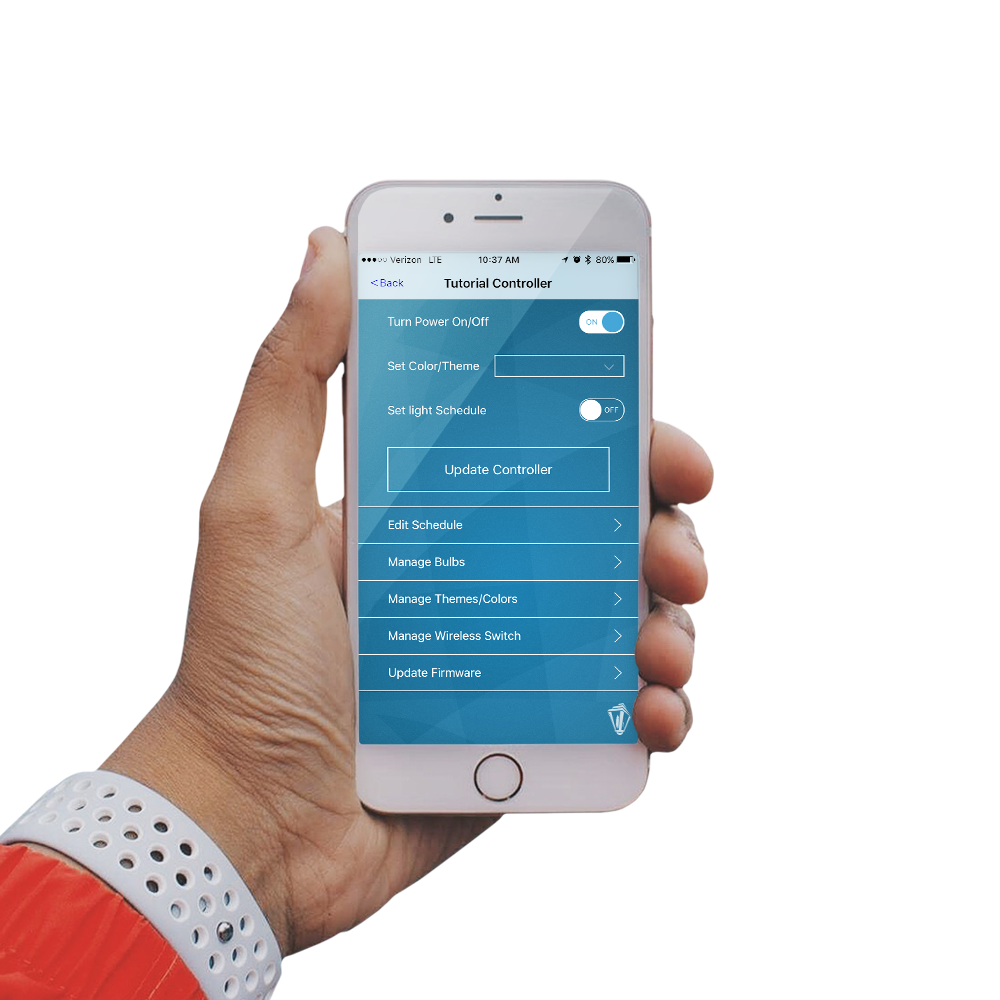
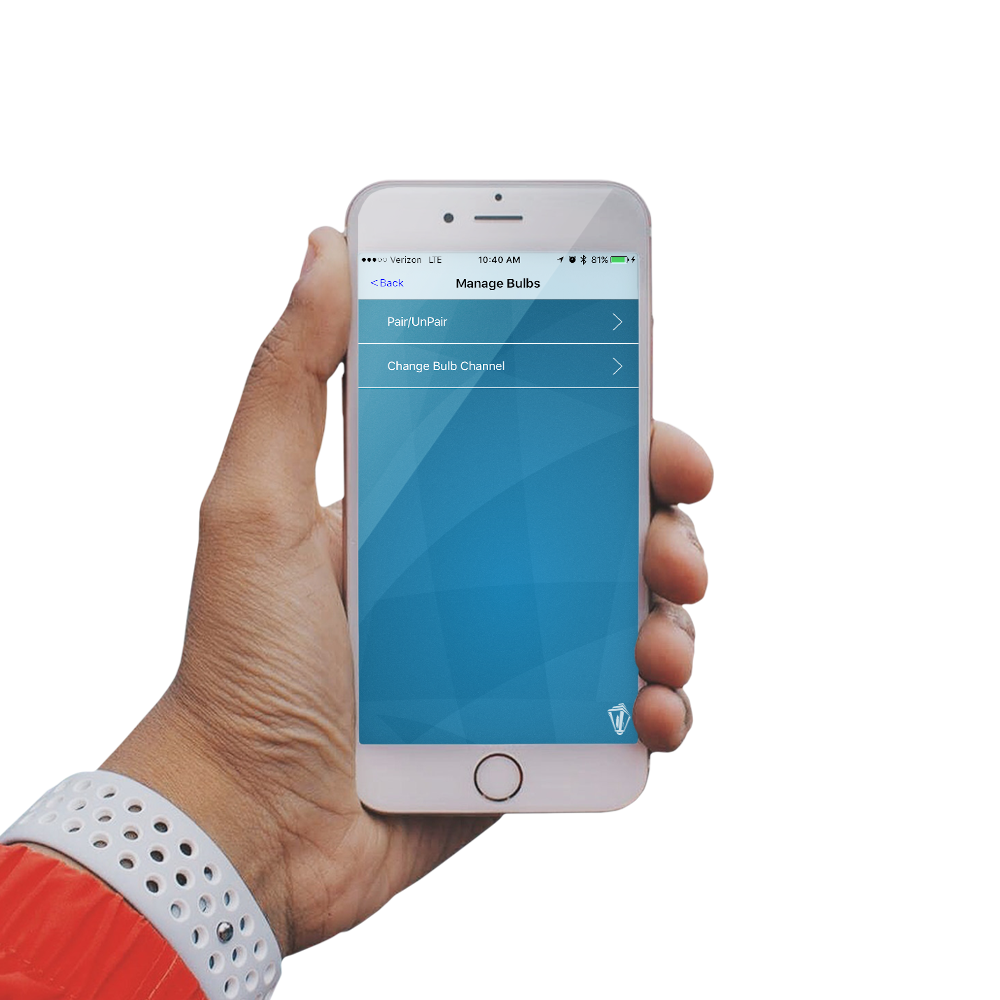
1. Install your bulbs
Your bulbs come pre-programmed with 6 channels. When installing your bulbs, start with channel 1 and continue in order to channel 6. Continue this process until your light strand is complete. Refer to the colored rings at the base of the bulb to determine which channel is which, based on the color of the ring.
DO NOT OVER TIGHTEN - It’s possible to over tighten the bulbs, which may loosen the socket from the wire and causing connection issues. Screw in the bulbs until tight, but don’t go further.
The default colors for each channel are as below:
Connect your light strand into a paired switch or directly into the bottom of the controller.
NOTE: Make sure your bulbs are within 25 ft. of the controller when doing this process.
2. Choose your controller
Select your paired controller in the main menu.
3. Select manage devices
In the main controller settings, select the "Manage Devices" option. Next, locate and select "Pair Devices".
4. Pairing Process Complete
Congrats! You have successfully paired your bulbs to your controller.
NOTE: If any bulbs remain red, please pair again.
TROUBLESHOOTING:
CHECK THE BULBS - After you hang your bulbs but before you set the first color change with the controller. If there’s a malfunction with one of the bulbs, it’s easiest to swap it out when you can easily see what channel color it should be based on the neighboring bulb colors.
NOTE: If you’ve already changed the colors of all the bulbs, create a new theme using 6 different colors, one for each channel and update.
BULB COLOR NOT UPDATING - If you change the color of your bulbs but none update, try the below steps to resolve the issue.
NOTE: If you are updating a bulbs color and the bulbs are being used on a switch, make sure the switch is correctly paired.
NOTE: When updating colors, see if the bulbs are turning on/off. Bulbs only receive the signal to change color in the 1-2 seconds after the bulbs turn on.
How To Pair The Switch


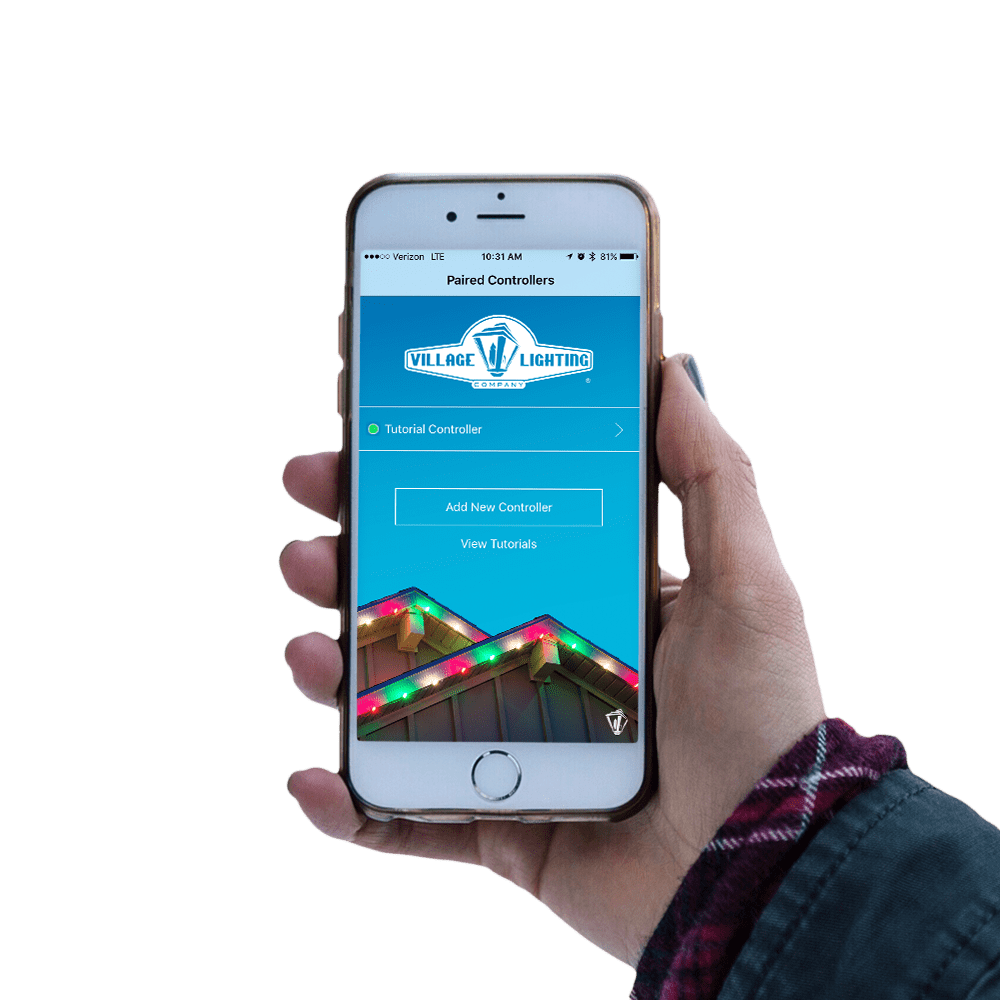
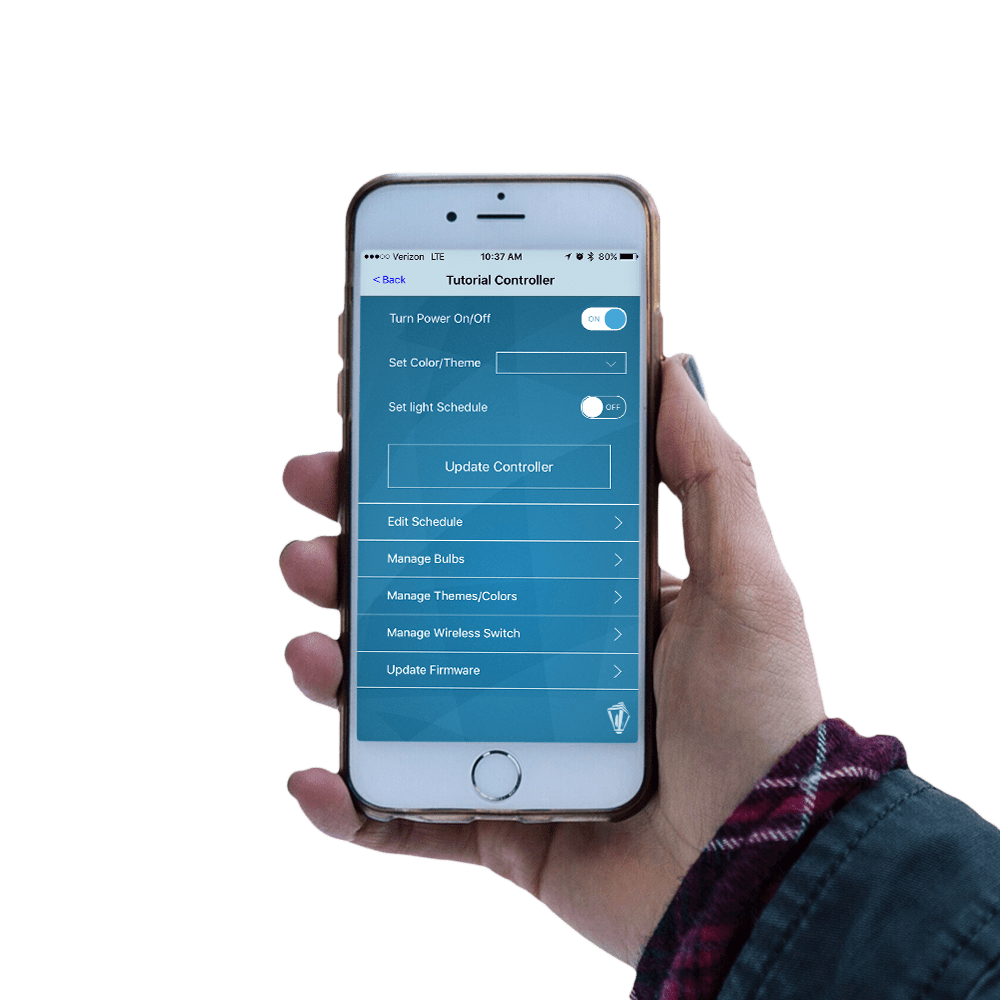
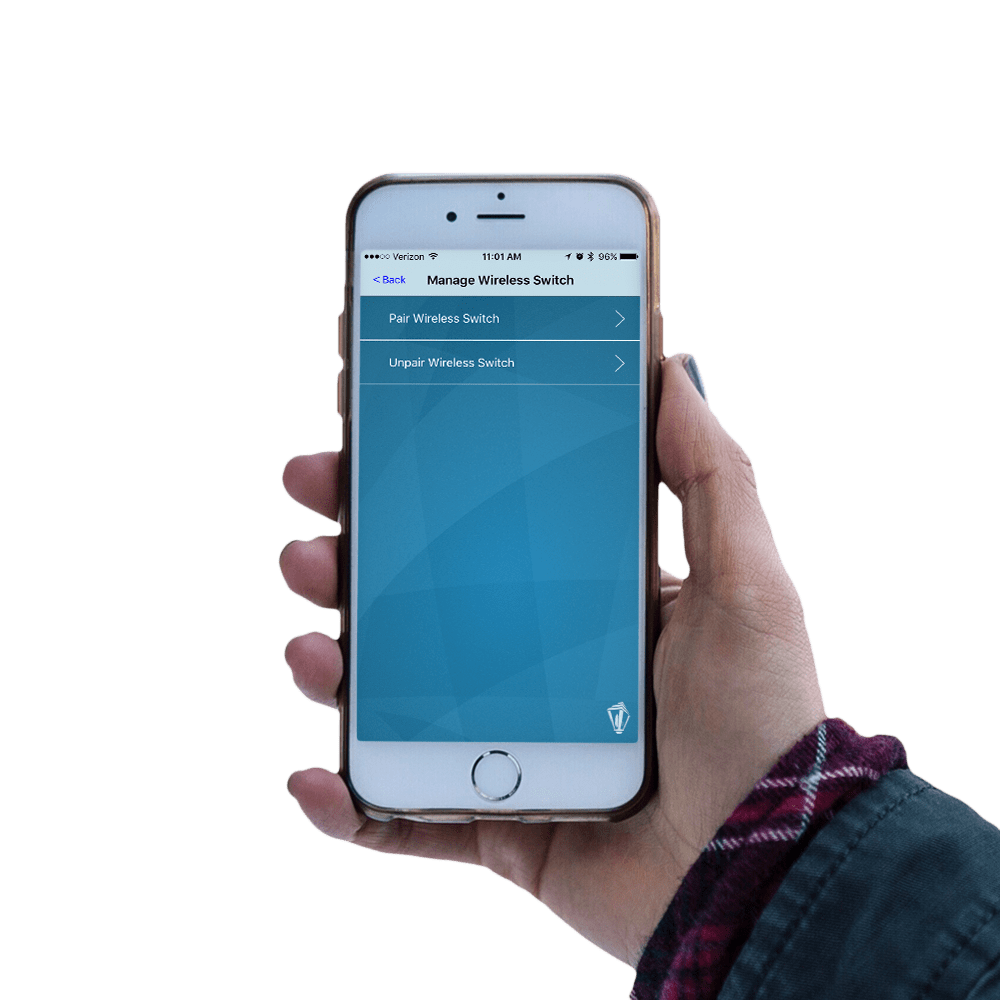
1. Choose your controller
Select your paired controller in the main menu.
2. Select manage devices
In the main controller settings, select the "Manage Devices" option. Next, locate and select "Pair Devices".
3. Pairing Process Complete
Congrats! You have successfully paired your switch(s) to your controller.
NOTE: If any switch(s) did not respond, please pair again.
How To Connect The Controller


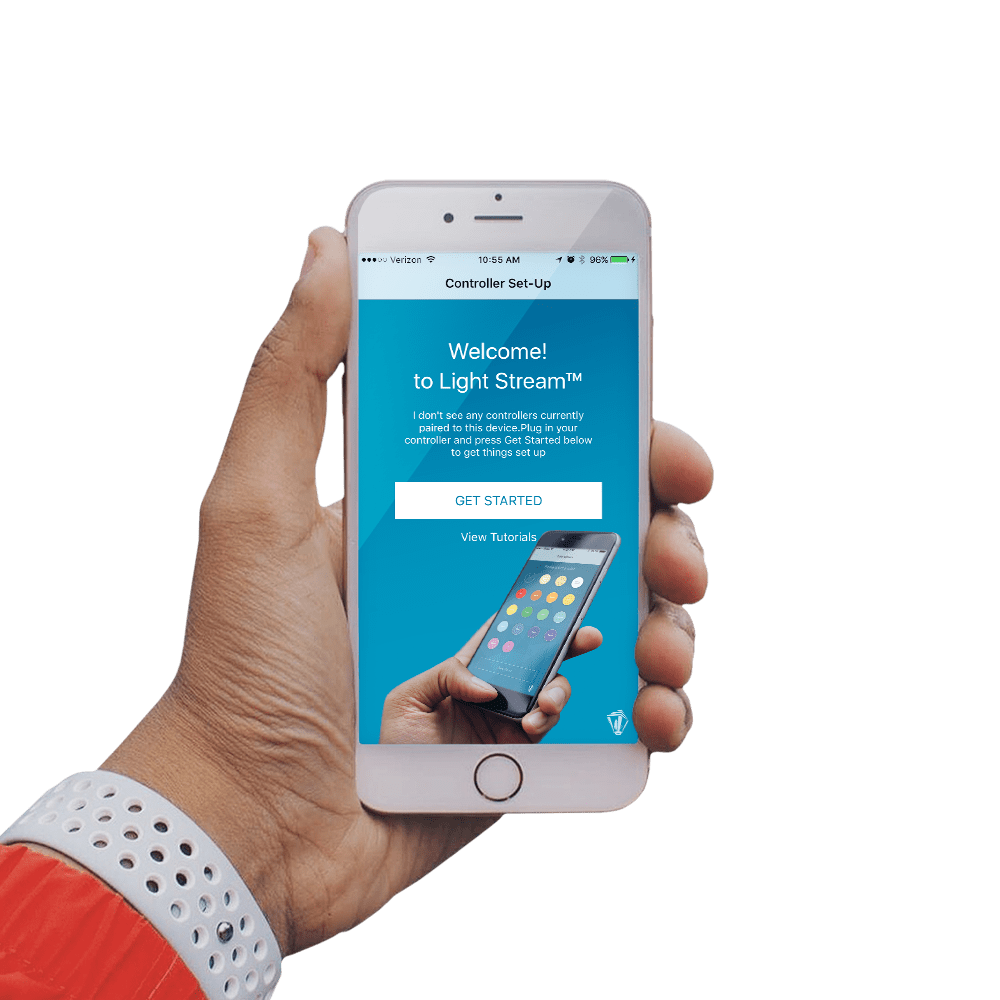
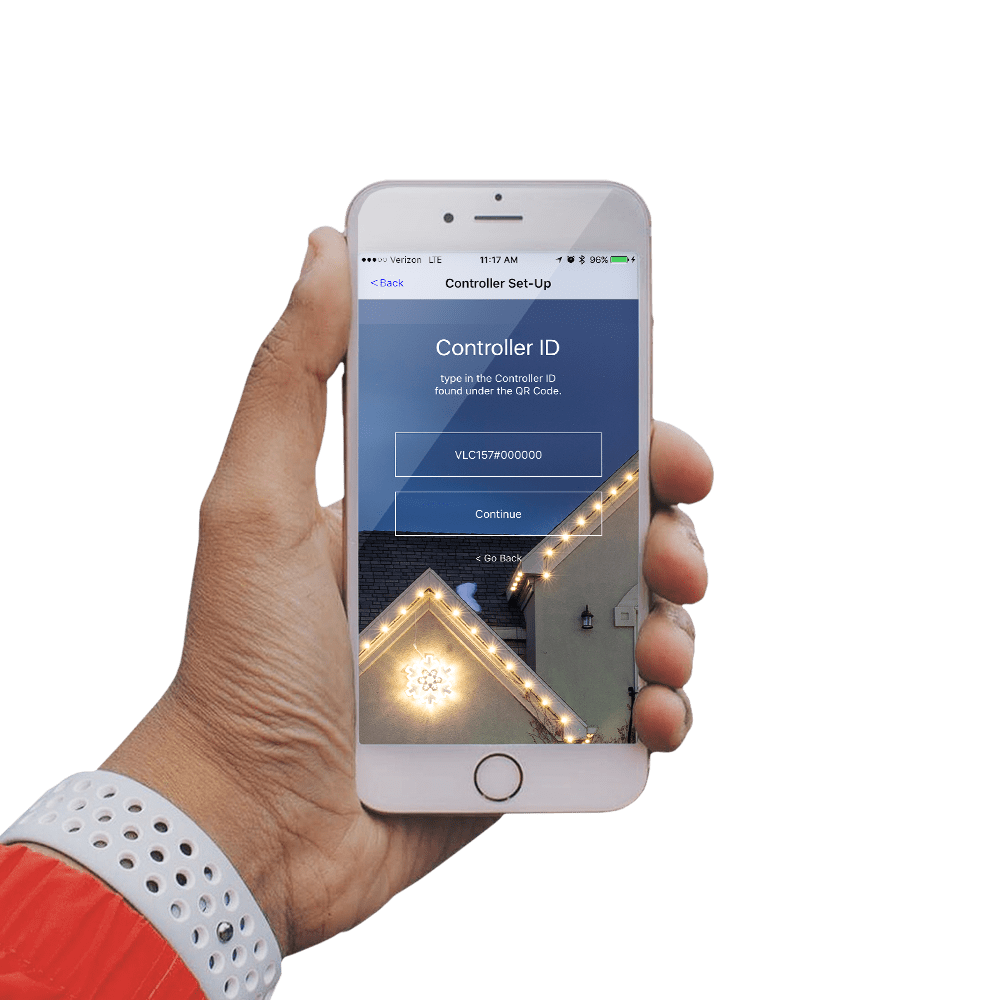
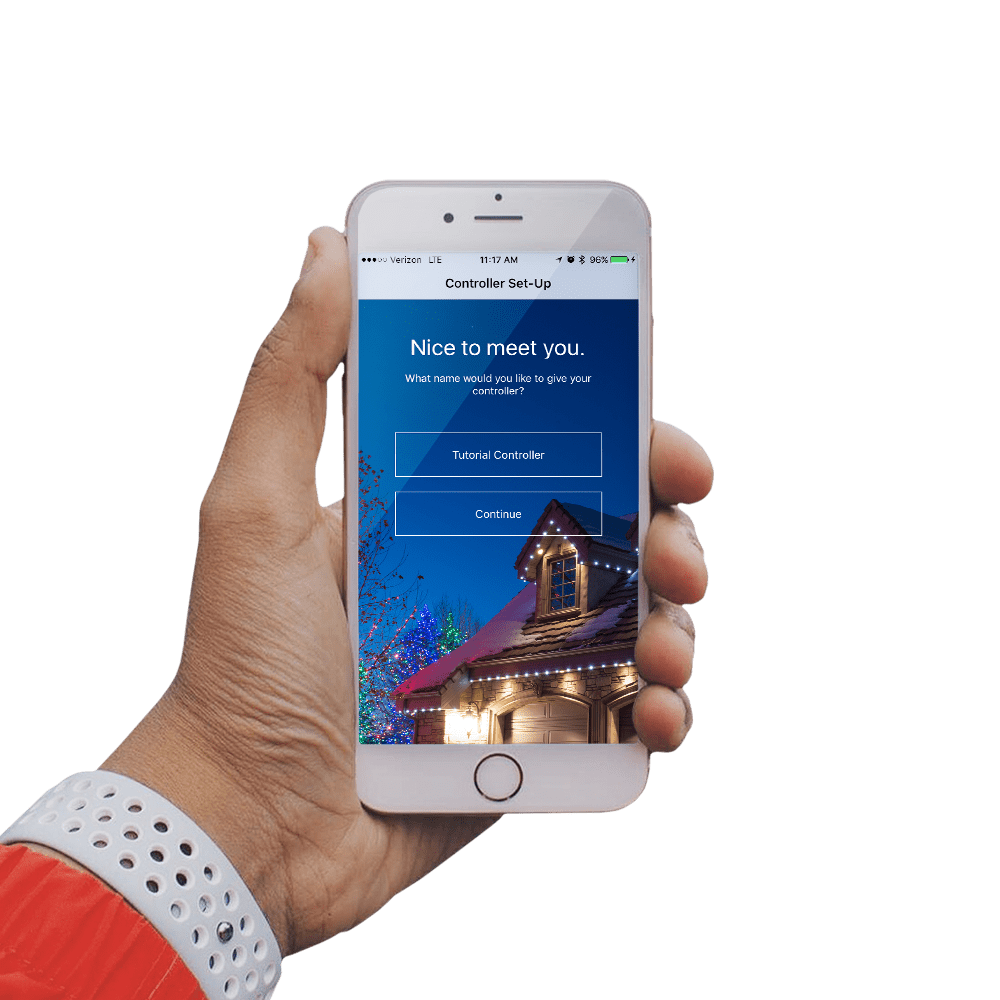
1. Paired Controllers Screen
Select the '+' icon, or the 'Add Controller' button from the paired controller screen.
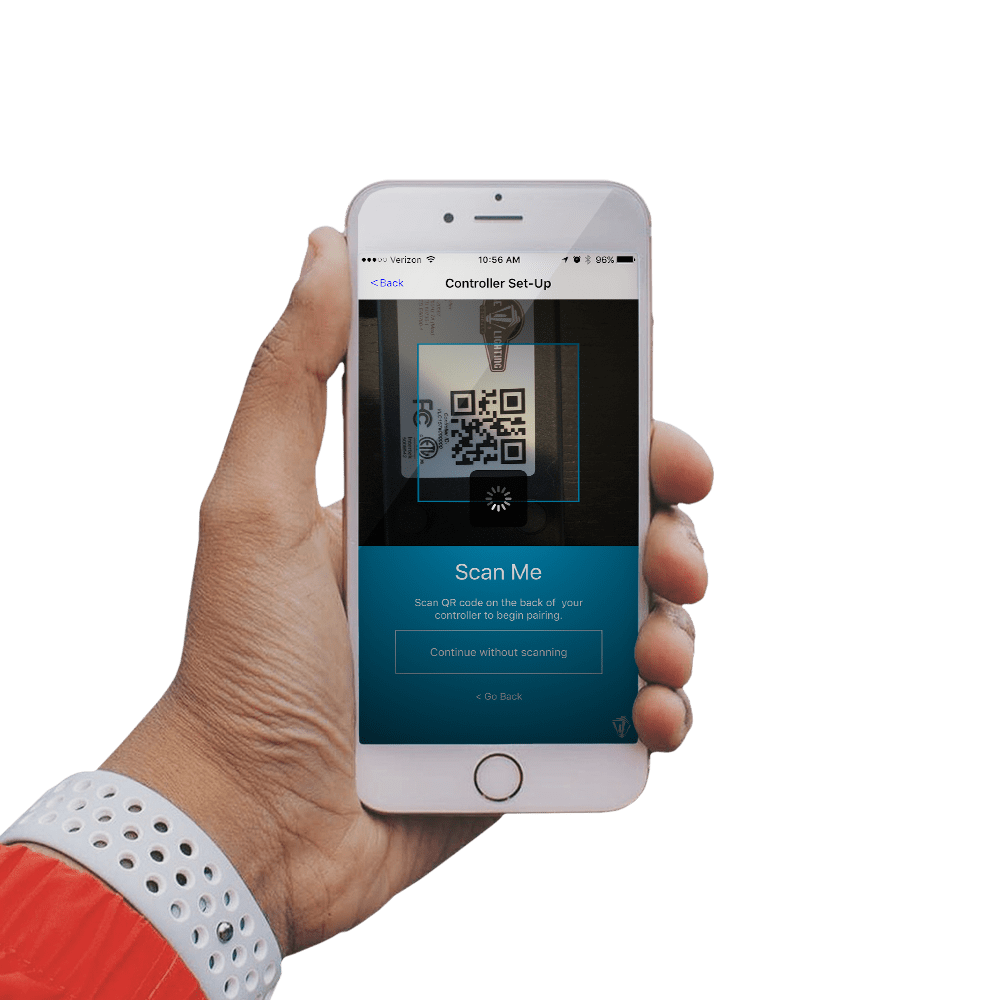
2. Scan controller QR code
Plug the controller into the wall to provide power to the device.
Scan the QR code on the back of your controller.
3. Manually setup controller
If scanning the QR code did not work, or you would prefer to manually enter in the controller ID, select 'Continue without scanning'.
You can find the controller ID number directly under the QR code on the back of your controller.
NOTE: You must enter the controller ID just as shown. Please use capital letters, and pound sign when entering in controller ID manually.
Select 'Continue'
4. Finish controller setup
Name your device.
Select 'Continue'
You have successfully setup your controller.
TROUBLESHOOTING:
CONNECTION ISSUES? - If you're having difficulties re-connecting to the controller after it is set up, try the below steps to fix the problem.
1. Turn off phone Bluetooth, then back on. Unplug the controller, then plug it back in. Then, try connecting again.
2. Restart your iPhone, unplug the controller, then plug it back in. Then, try connecting again.
3. Close down the Light Stream™ app, reopen the app and set up the controller again by scanning the QR code. Then, just name the controller.
WHERE ARE CONTROLLER SETTINGS STORED? - Controller settings are NOT stored on the Light Stream™ Controller, they are stored on your iPhone.
If your setting up the Light Stream™ System for someone else, all of the setting you make during setup will NOT transfer to the homeowners iPhone.
You must help them setup the Light Stream™ System on there iPhone or simply use there phone for the initial setup to avoid this issue.
